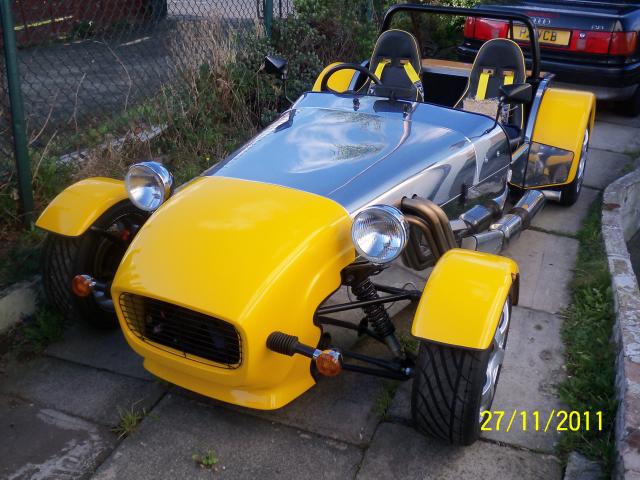
 Robin Hood
February
Introduction
This is my first build of a kit car so these notes may prove useful to
those who follow. I finally settled on the kit from Great British
Sportscars (formally Robin Hood) as they proved to be a) Fairly Local and
b) Fairly good value.
 Which turned out
to be quite important later on. The only drawbacks I found is that
there is NO Build Manual ! Only lots of photos which can be quite
confusing for the first time builder (I.e - Me  ). As
everything turned out though, it is quite possible to build this in a
single car garage, IF you clean up regularly that is ! There is the
Robin Hood Owners club who can help you with your construction with plenty
of good advice and possible bits for sale as well. I opted to go for
the Mostly New components route so that I should be able to get a new
registration plate. If you go for the donor vehicle, you will not
need much from the donor but you MUST keep the Logbook and not declare it
as scrapped if you want to keep the registration number.
So - On with the work ...
Saturday 12-2-11
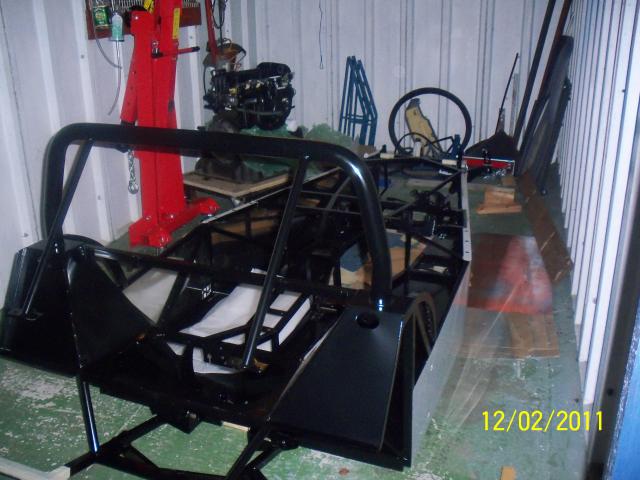
Today was the Kit Pickup day. Hired a long wheelbase transit type
van with a very bad gear lever, no wonder it was cheap ! Built up the crane and seat
ready for the work.
Collected all (well, most of) the parts and placed them in any available
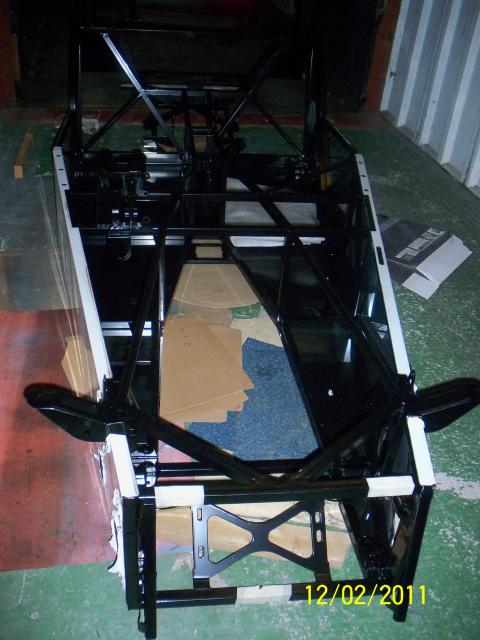
space in the house. The chassis
was left on bits of spare wood for now and of course
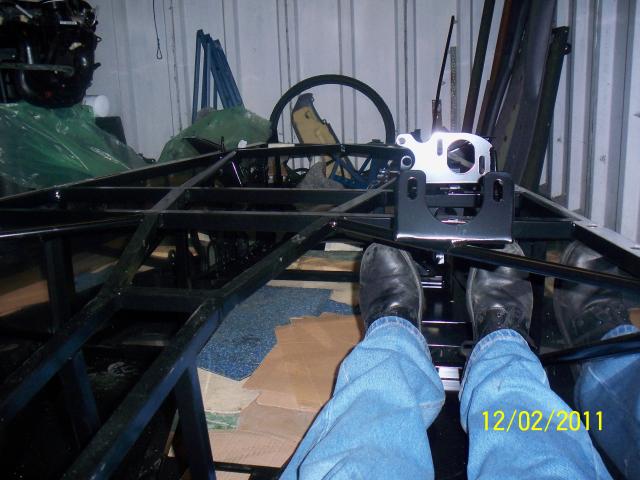
I just HAD to sit in it for the first time.
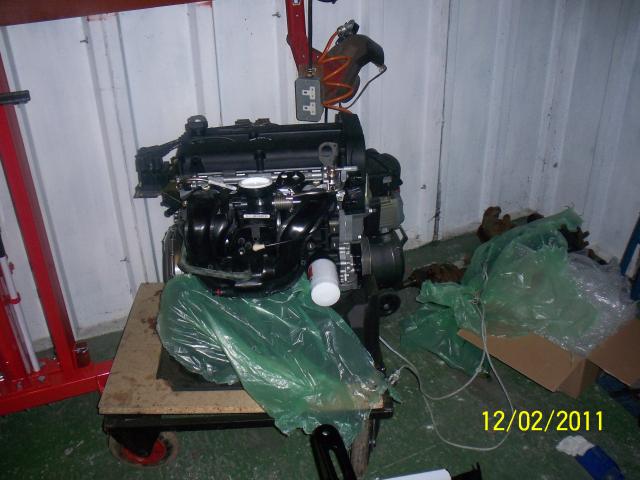
. I had decided to
go for the new engine option. However the
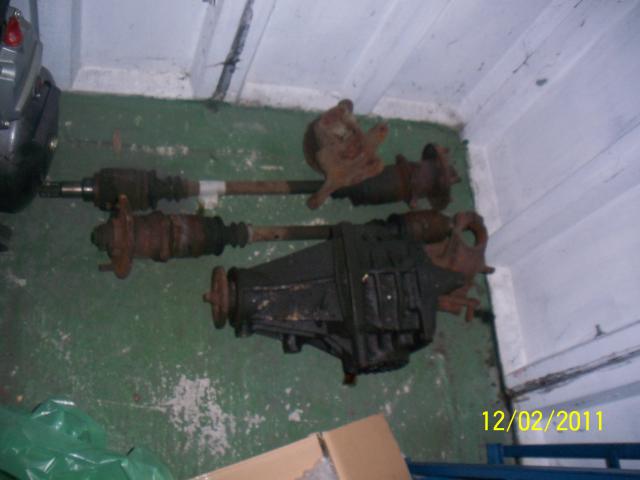
donor pack looked overdue for re-conditioning !


Tuesday 15-2-11
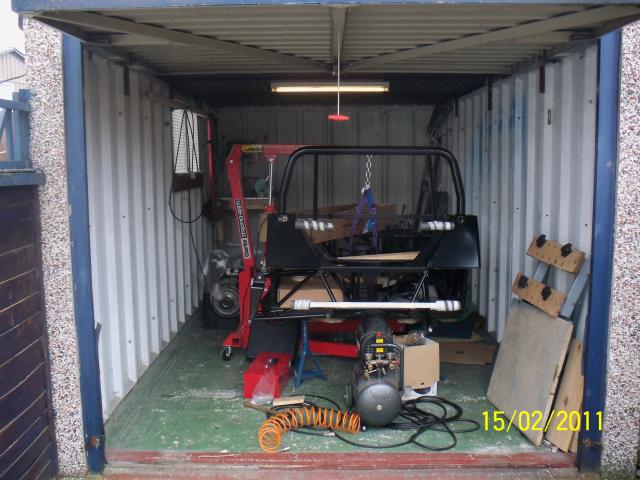
Following some advice, I didn't start work immediately and just looked
for the best place to start. One of the first things to do is go
around the chassis and clean out all the powder coated holes where the
bolts are going to fit (if needed - not all do). Also I had opted to have
the side panels bonded on at the factory and so I needed to go around with
the polyurethane sealant over the underside to seal up the gaps between
the welds. (I believe later frames have continuous welds instead of stitch
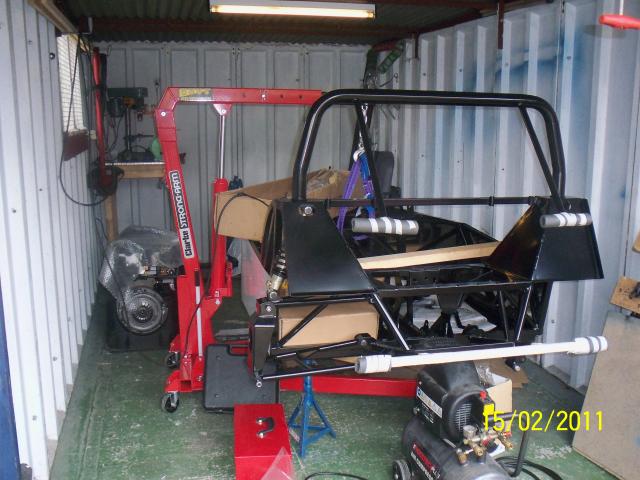
welds like mine though). .Now moved the chassis onto the axle stands ready for the work. Now have to
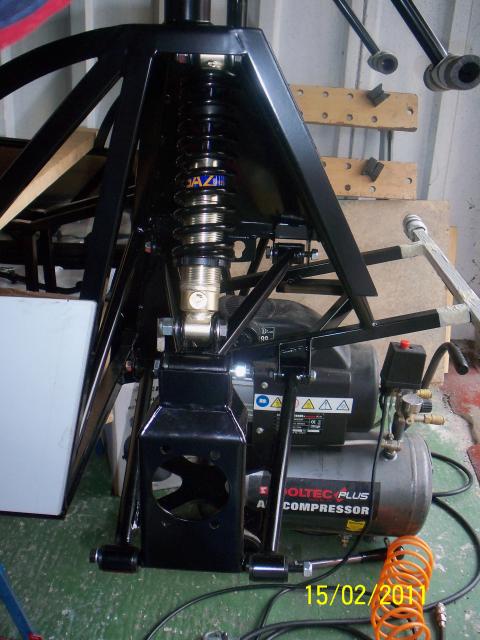
decide where to begin. I thought I would begin with the rear suspension
and just loosely put everything together to see what it looks like and to test the fitting.
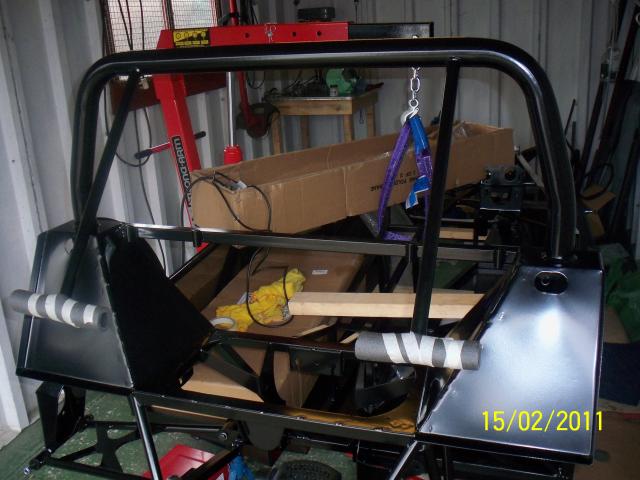
Added some protection for my head as these bits are sharp ! First
blood to the car!
I needed some
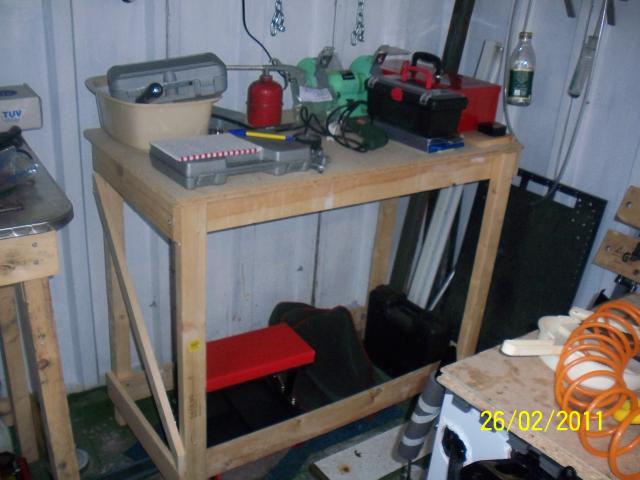
workspace so I built a small workbench out of an old table top.


Thursday 17-2-11
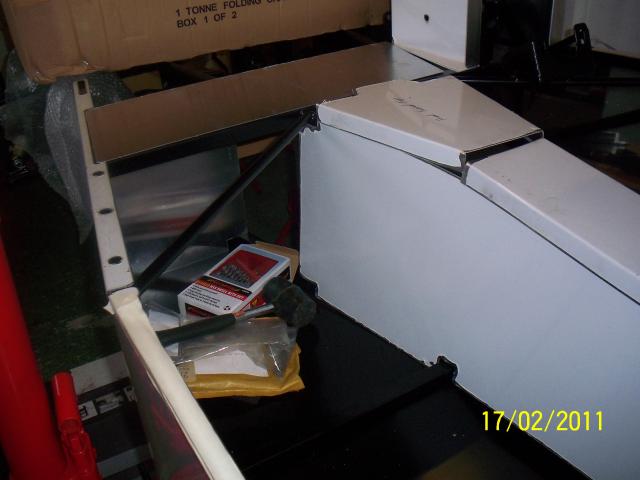
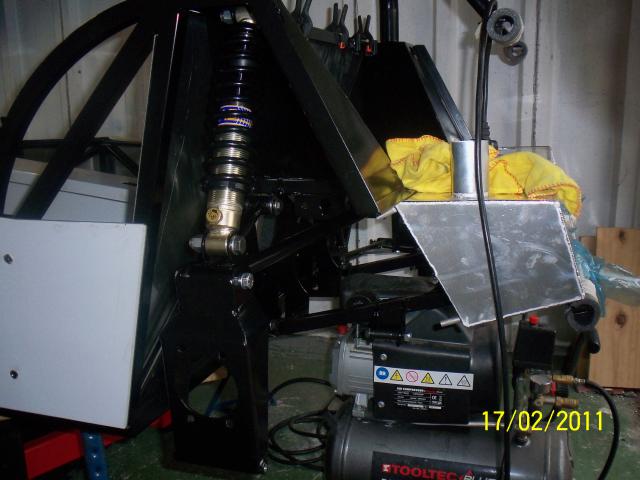
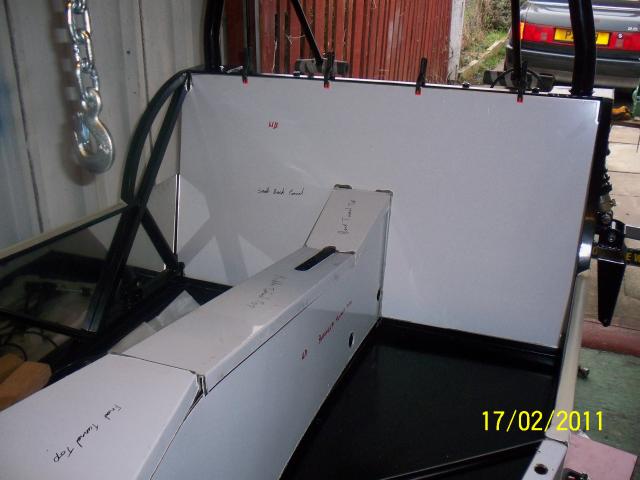
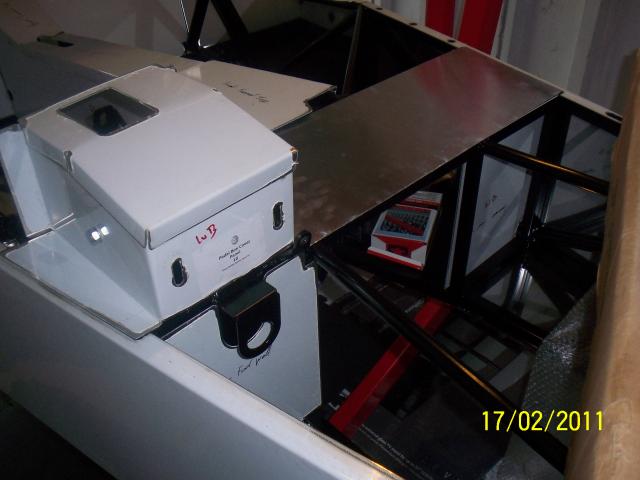
Checked out the fitting of the fuel tank
and the panels
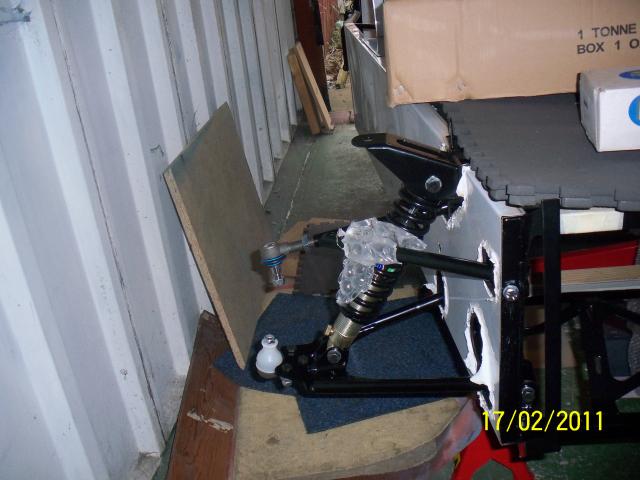
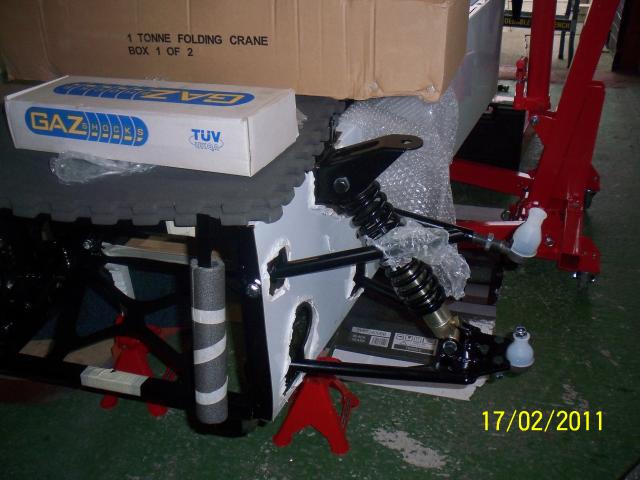
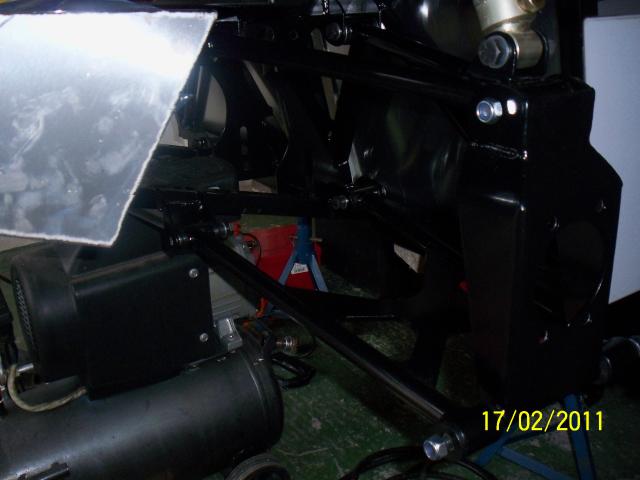
Started to put the front suspension together to check the fitting and
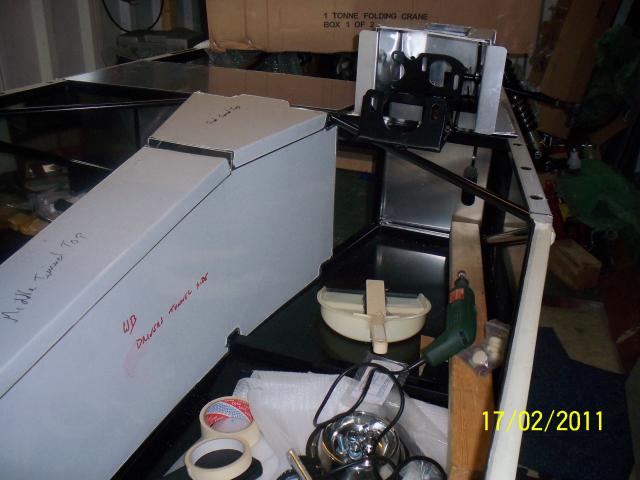
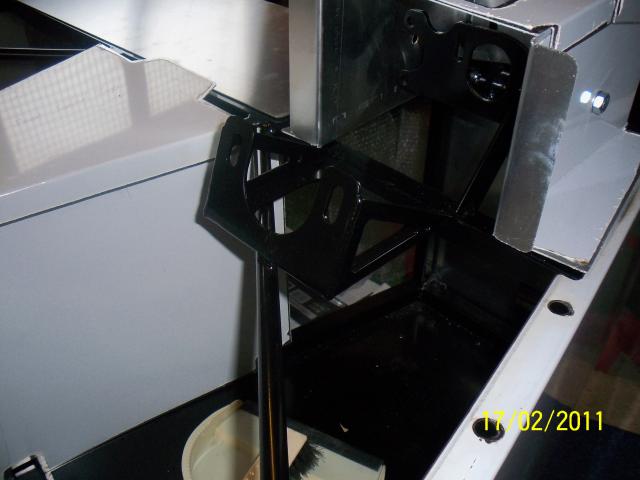
found some bolts supplied were the wrong length.Checked out fitting of battery panel and pedal box.
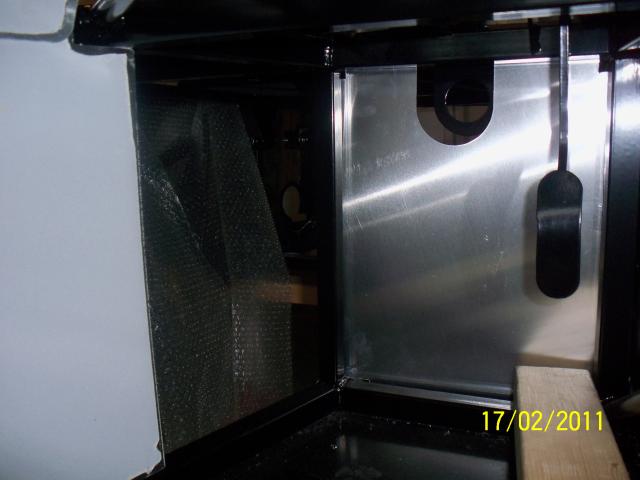
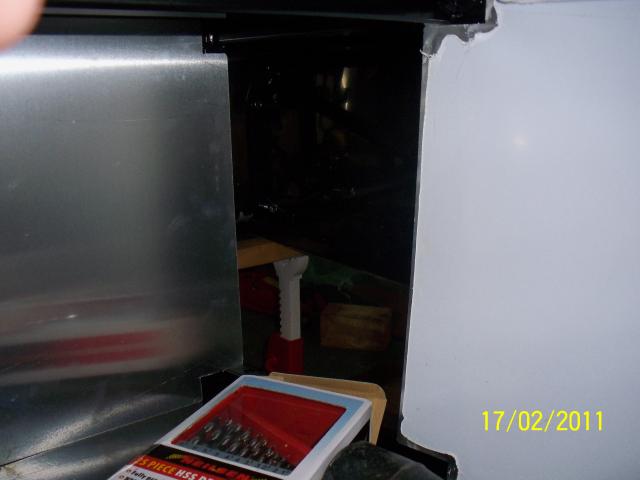
(Pedal box looks the wrong size. This was confirmed later on). More panel fitting checks revealed
two panels near the feet are missing.
Other rear
suspension test fitting
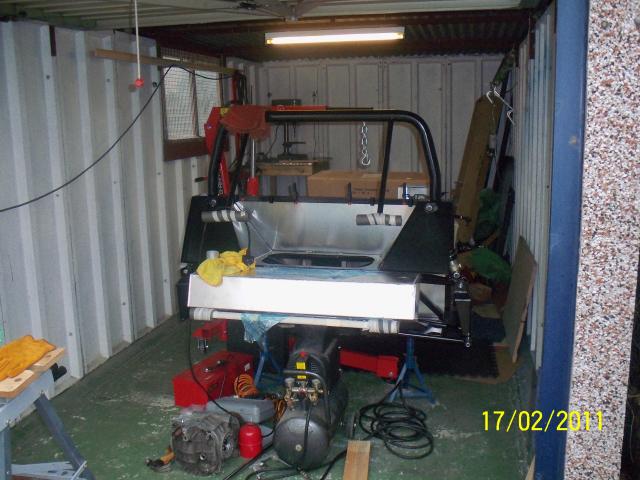
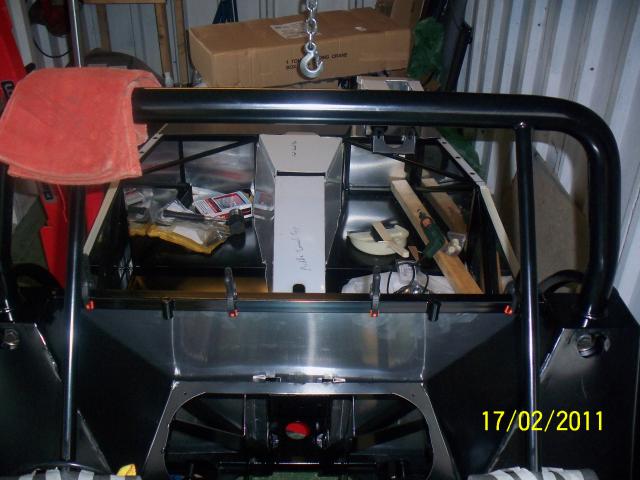
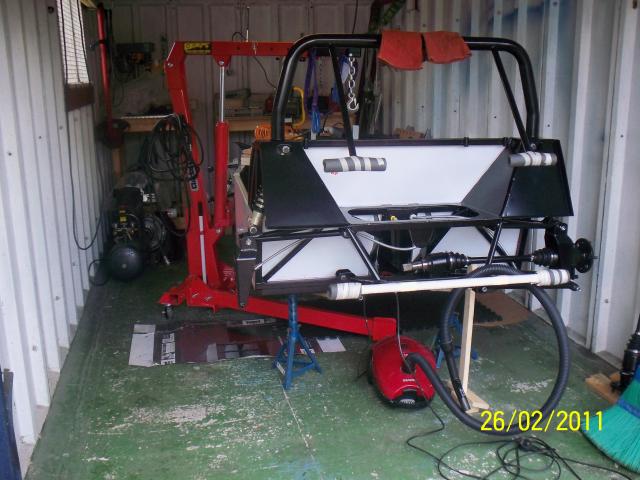
Finally an overall view
from the back.


Friday 18-2-11
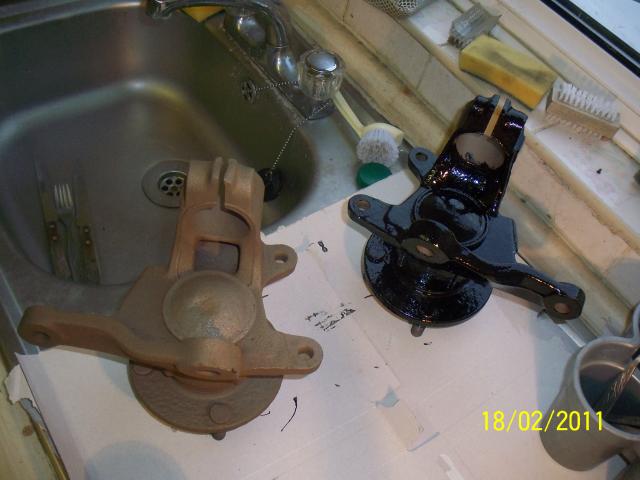
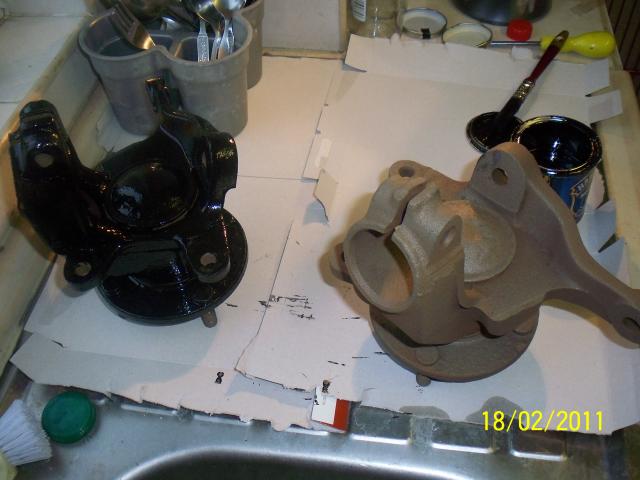
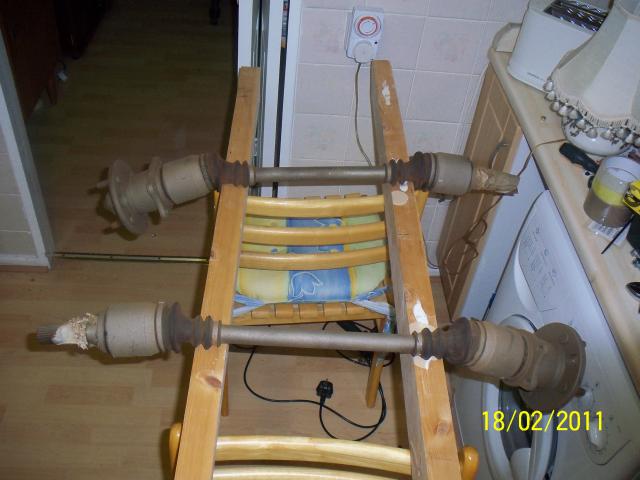
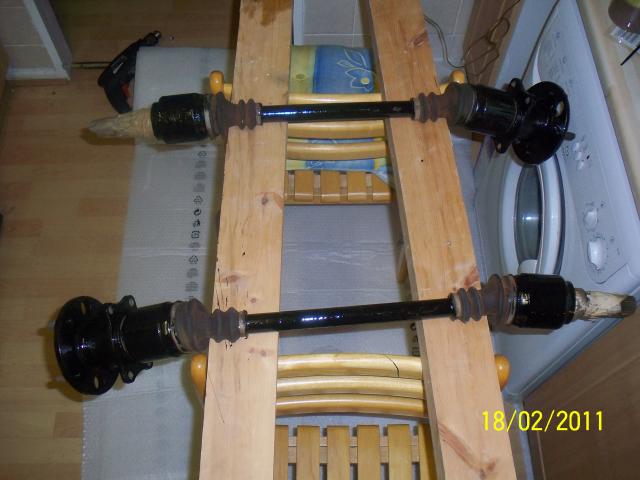
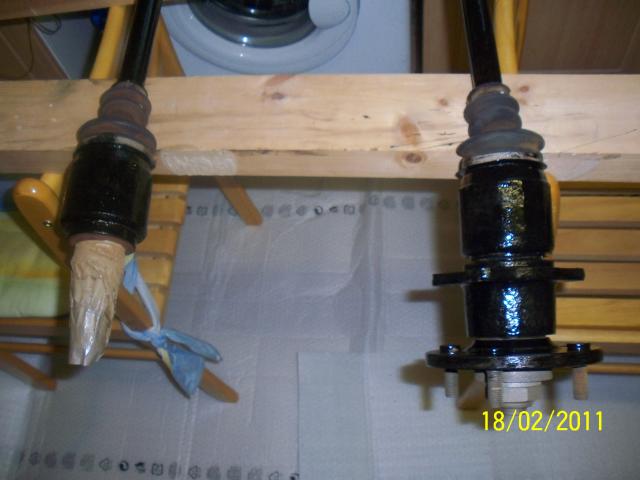
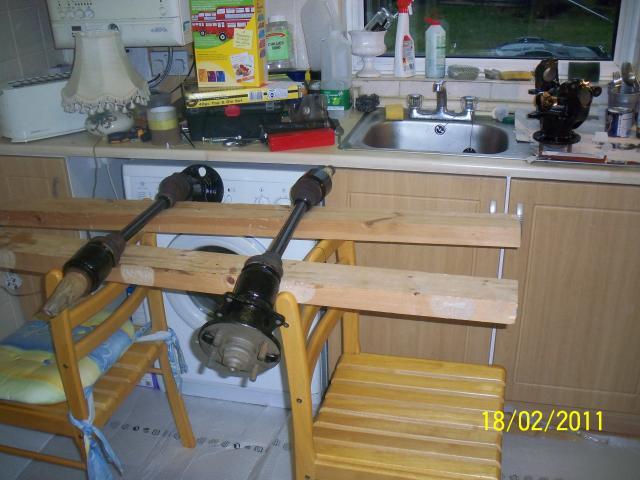
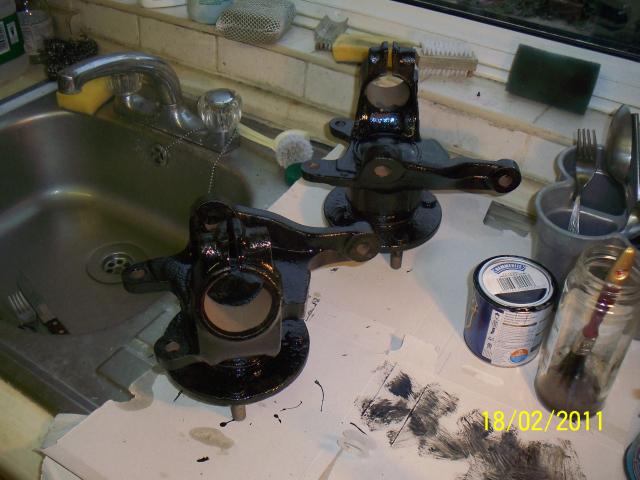
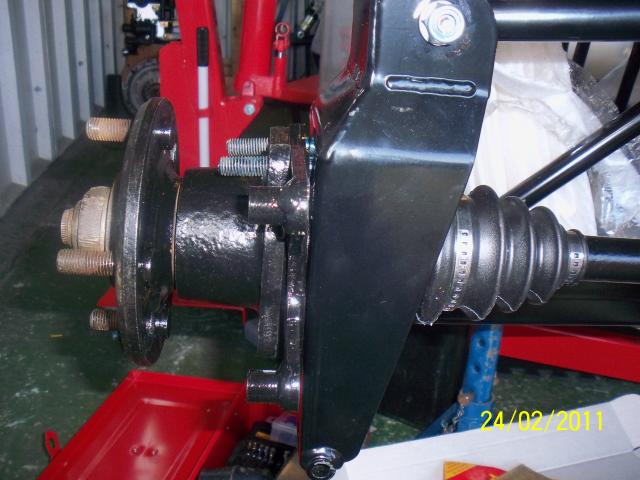
Hubs and half shafts are back from the blasters, so they need painting before going
rusty.


Tuesday 22-2-11
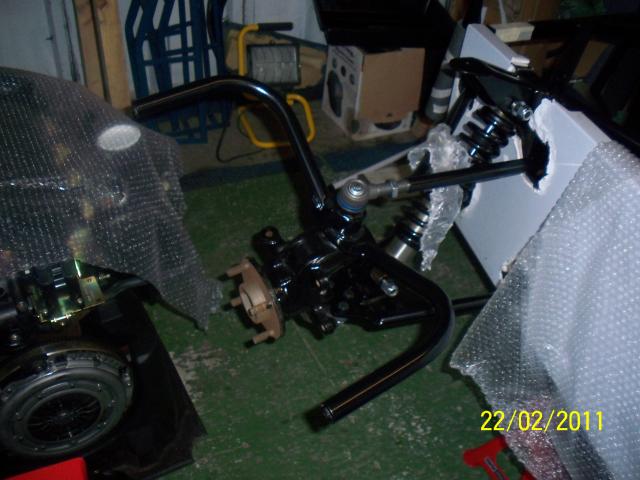
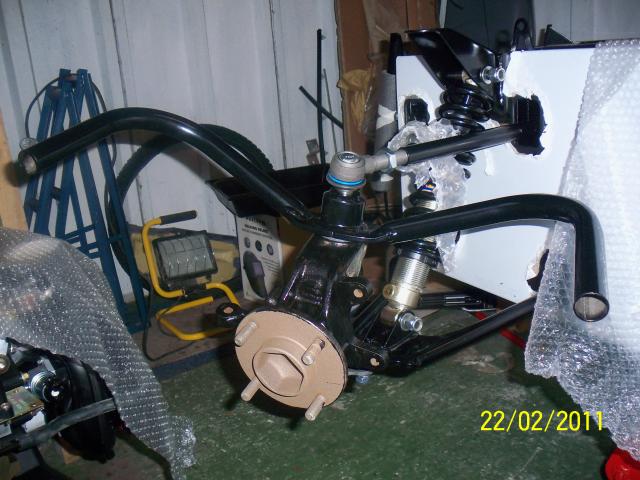
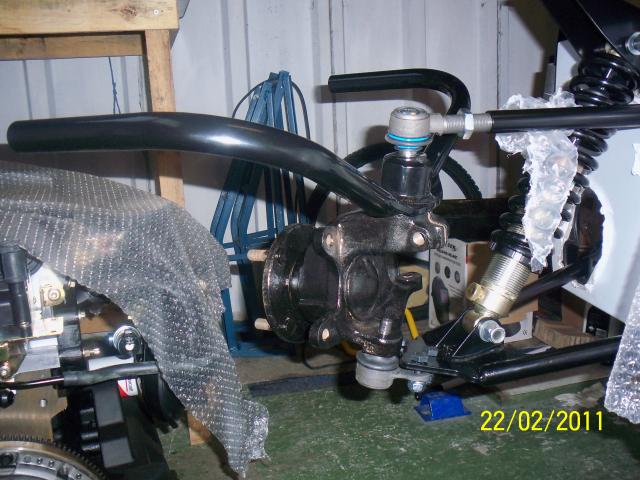
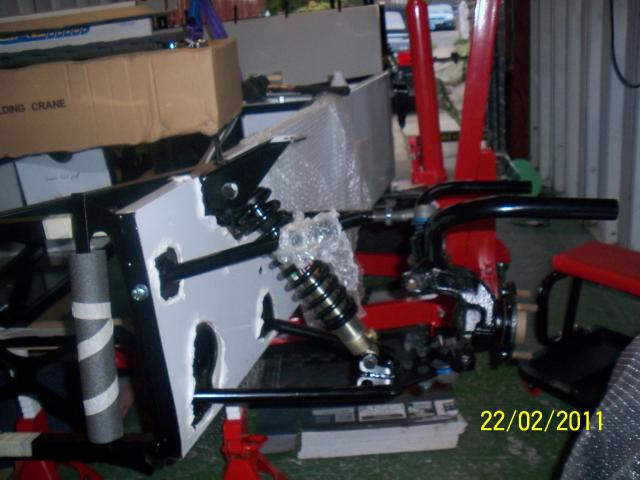
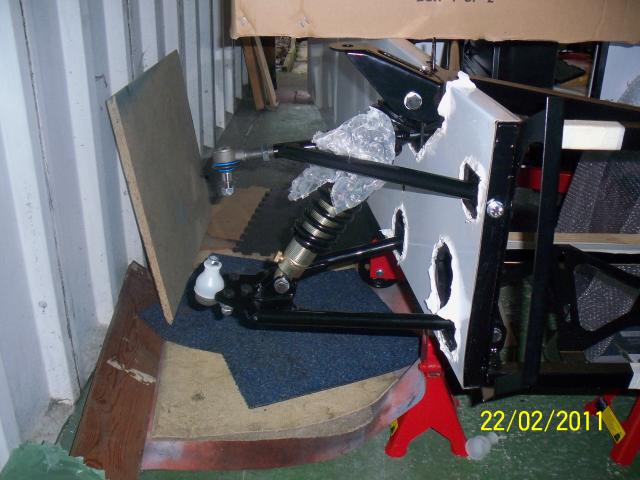
Front suspension and cycle wing brackets test fitting.


Wednesday 23-2-11
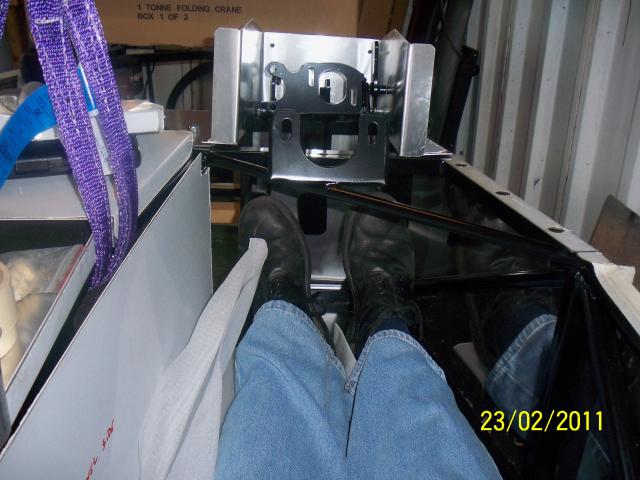
Had to sit in it again
. I noticed the added leg this time - one for each pedal !
Started taking the bits off the engine that aren't needed, the exhaust
manifold and inlet manifold. I need to keep the throttle body from the
inlet manifold for use later.
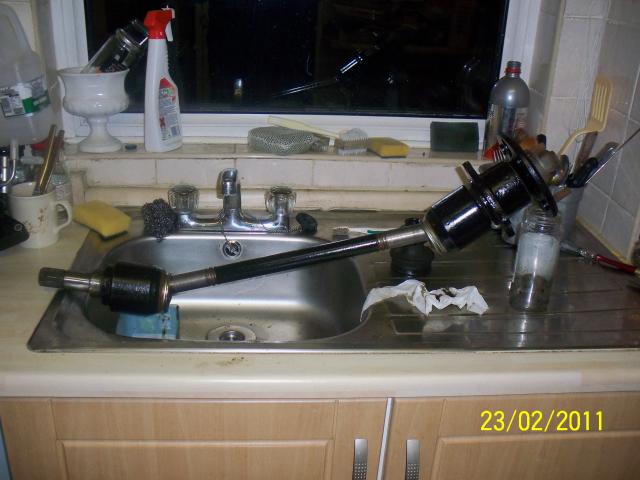
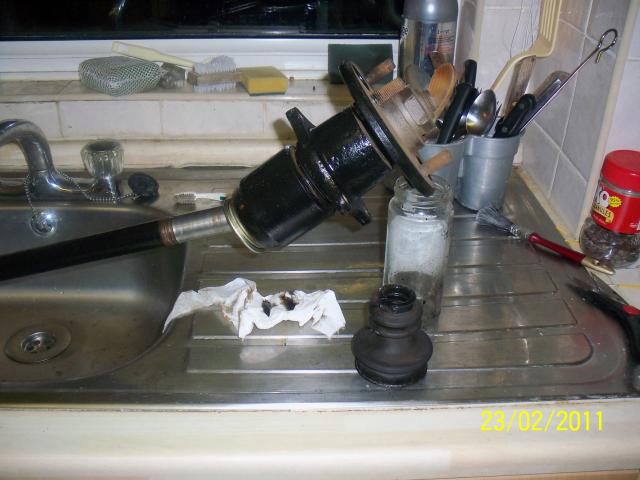
Stripped old CV boots ready to put new replacements on and could check out
the internals of the joints at the same time.
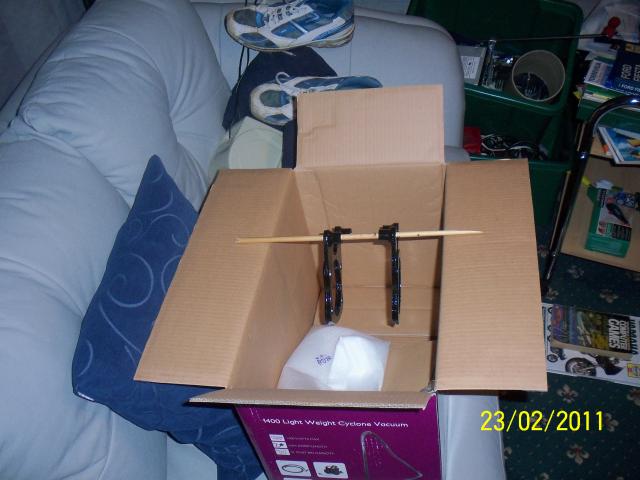
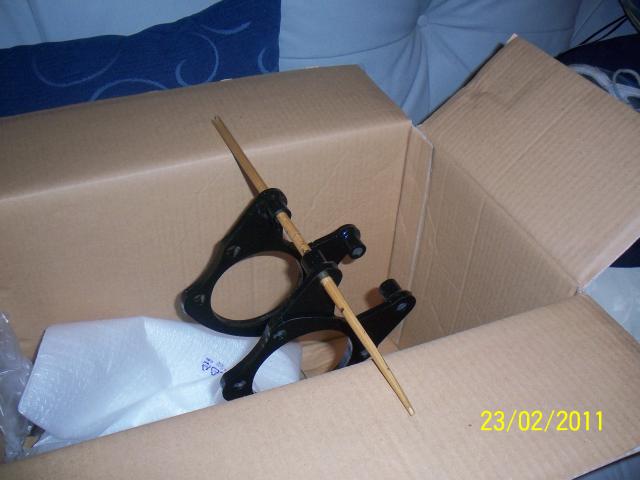
Painted the half shaft support brackets.


Thursday 24-2-11
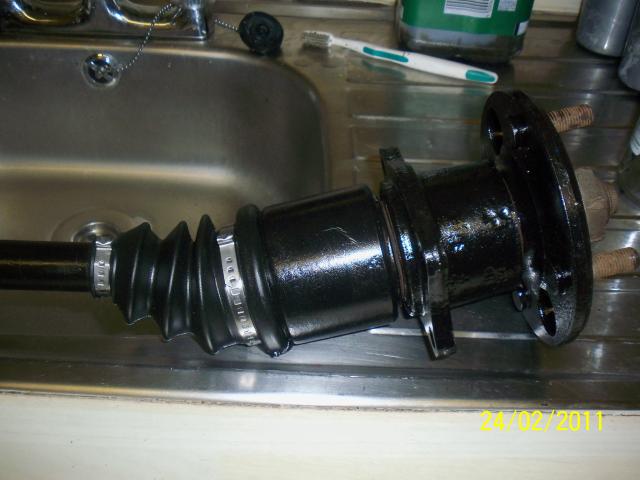
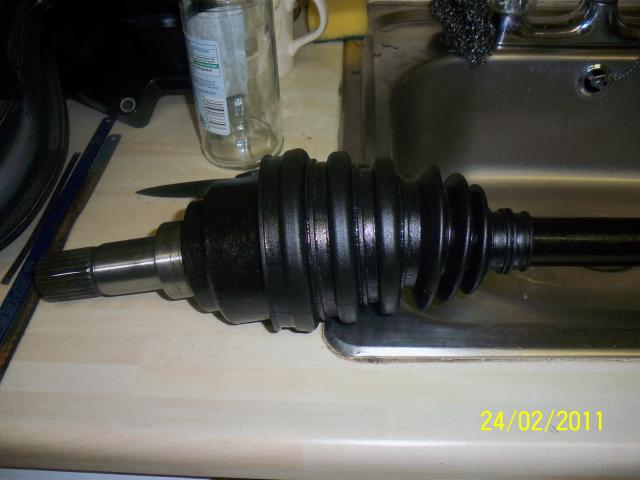
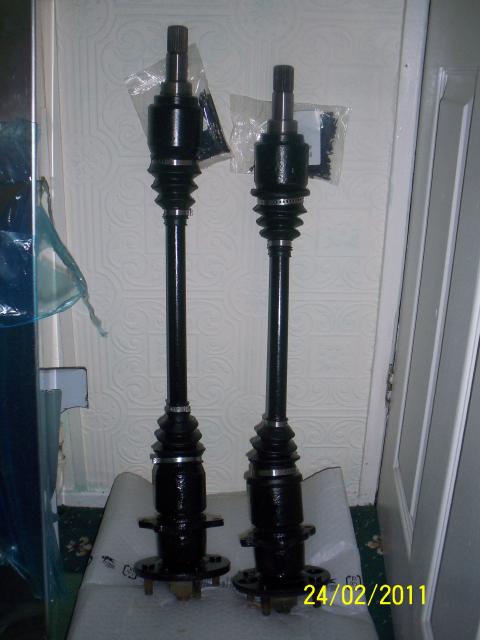
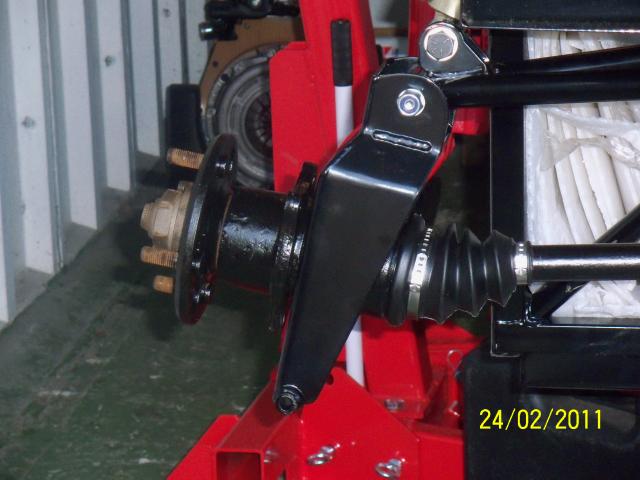
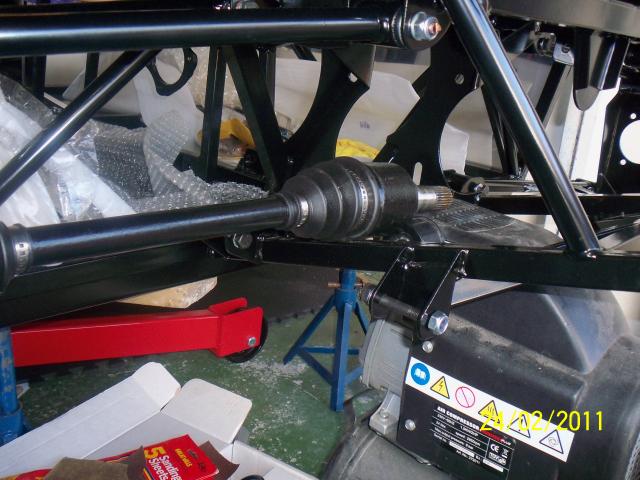
Put on "stretchy" CV boots. Those clamps are awkward
but not half as
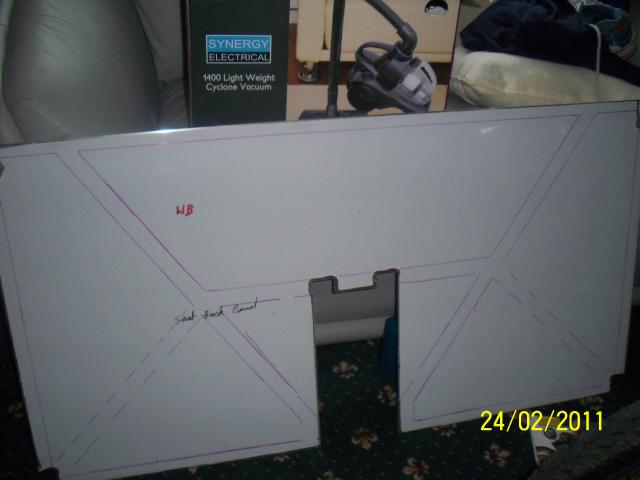
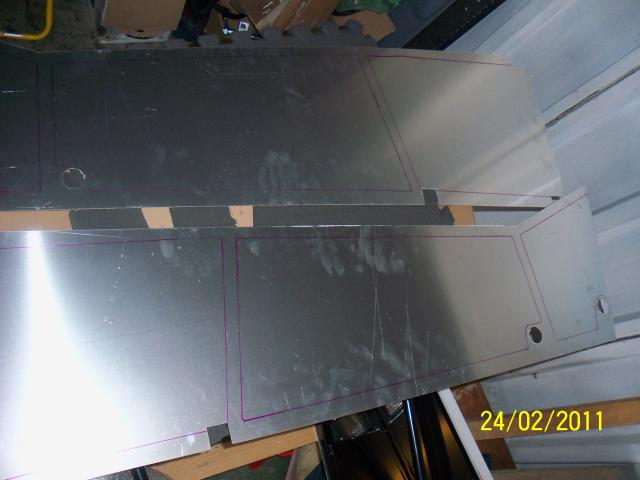
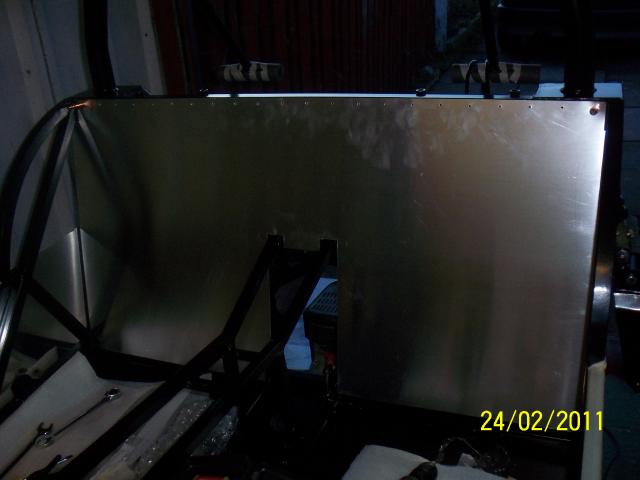
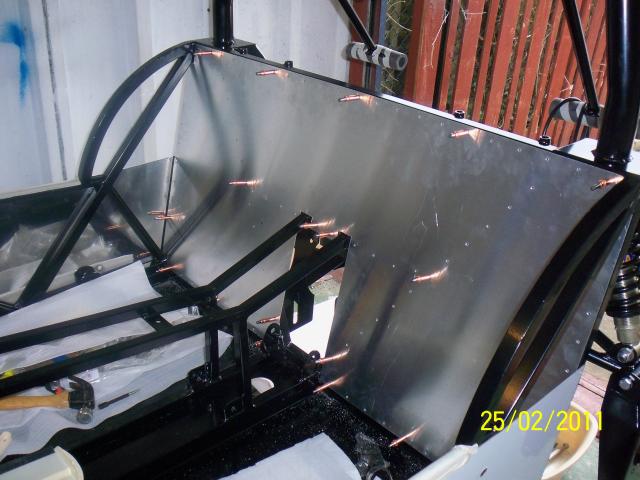
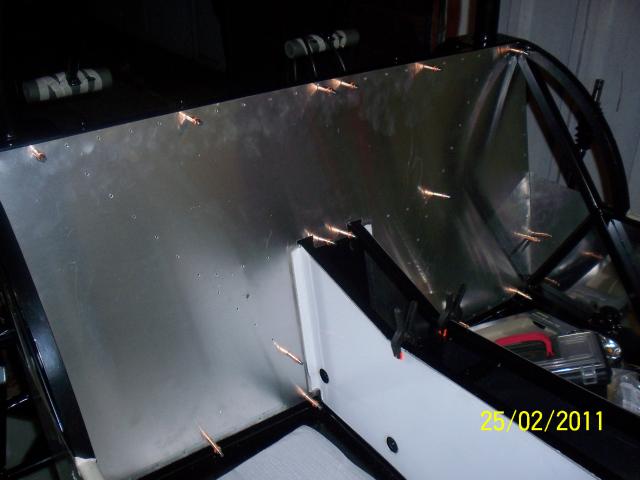
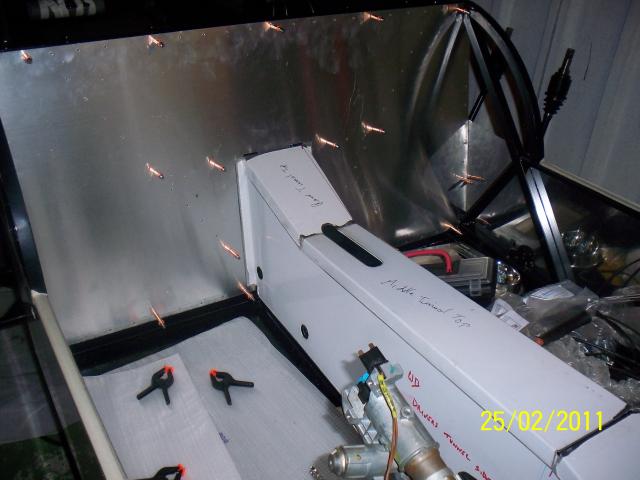
difficult as getting the boots on by yourself ! Marked up the rear panel for drilling
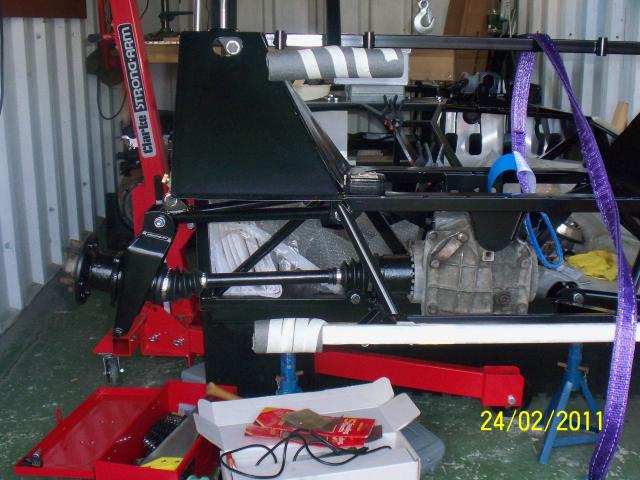
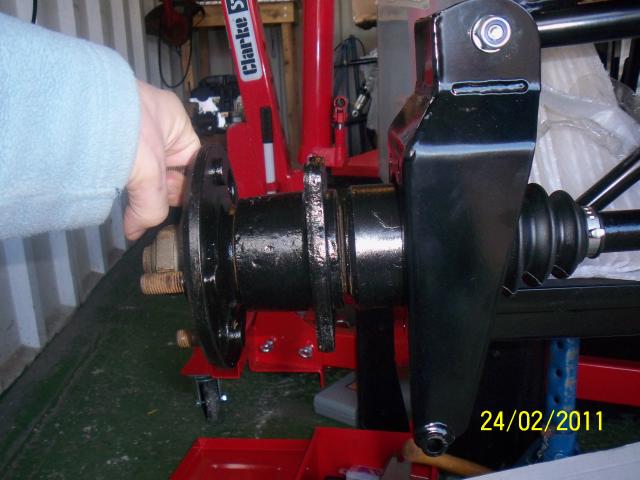
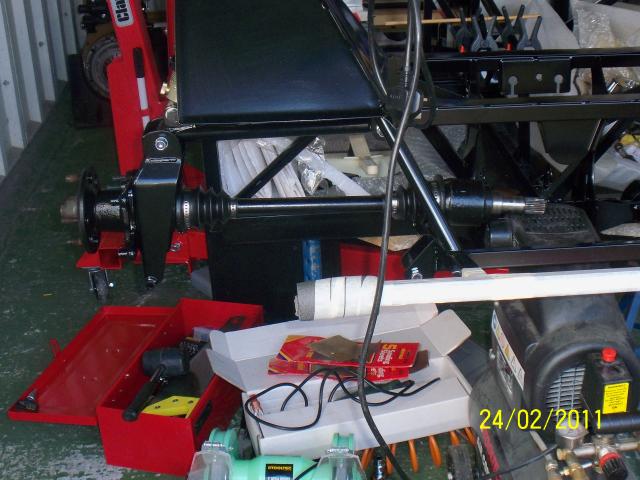
Test fit of the half shafts . At first
these looked like they won't fit. They look too long. It turns out that
the joints are compressible so the accurate placement of the differential
is not so important after all.
Marked up the inner tunnel panels for drilling.
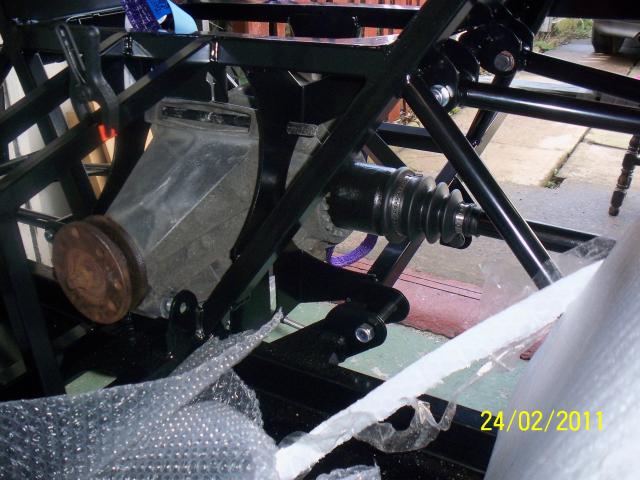
Test fit of differential which is VERY awkward to fit and I could have
done with some help, but it is possible by yourself - just !
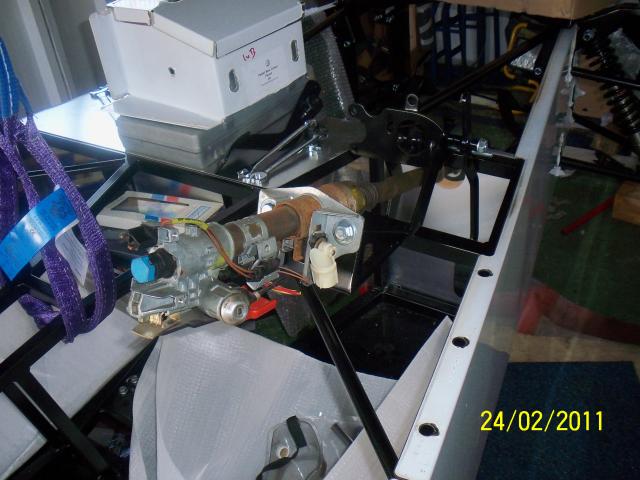
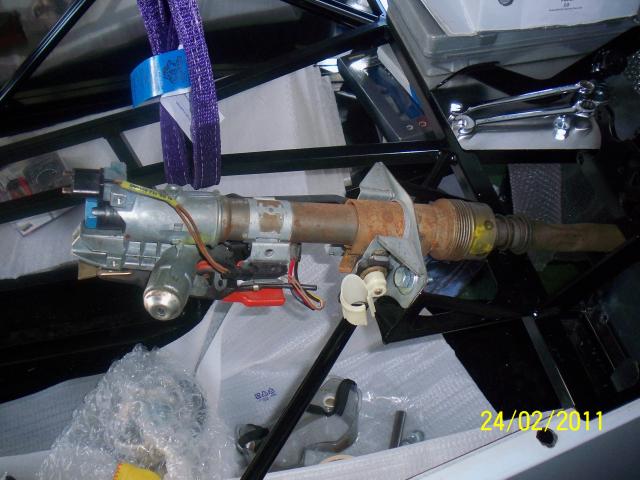
Test fit of the steering column.
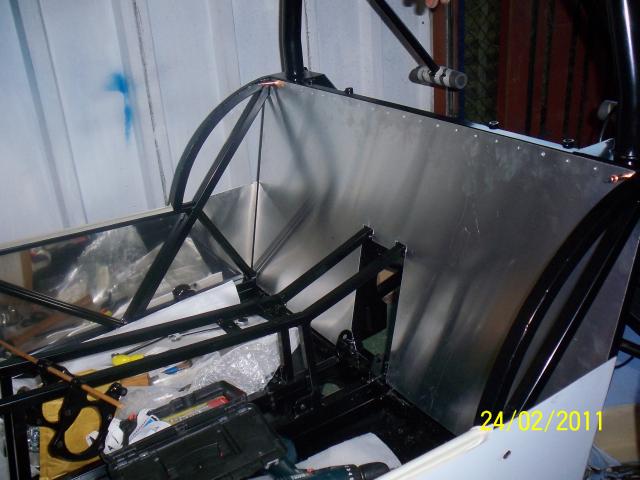
Started drilling the rear panel. Cleko fasteners will prove to be a
VERY useful and one of the most used tools to buy. And
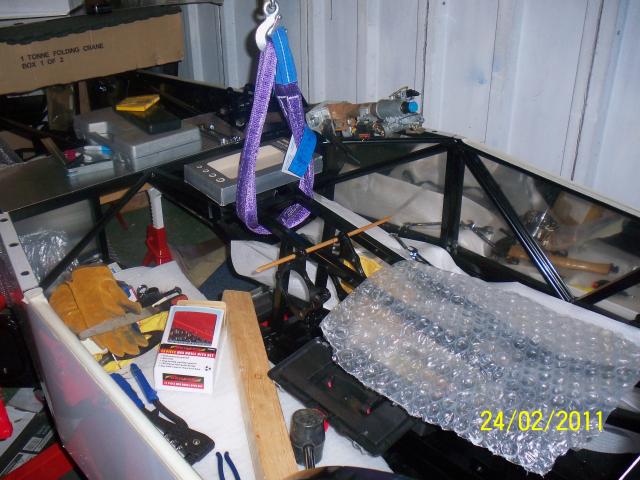
I really should tidy up, only 12 days gone and already like this


Friday 25-2-11
Rear panel now drilled ready
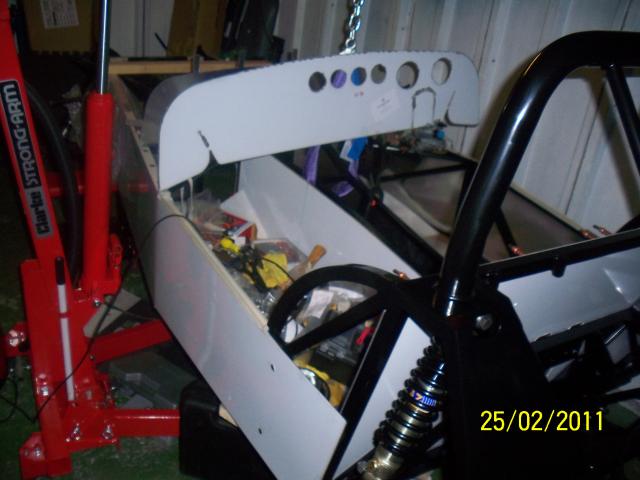
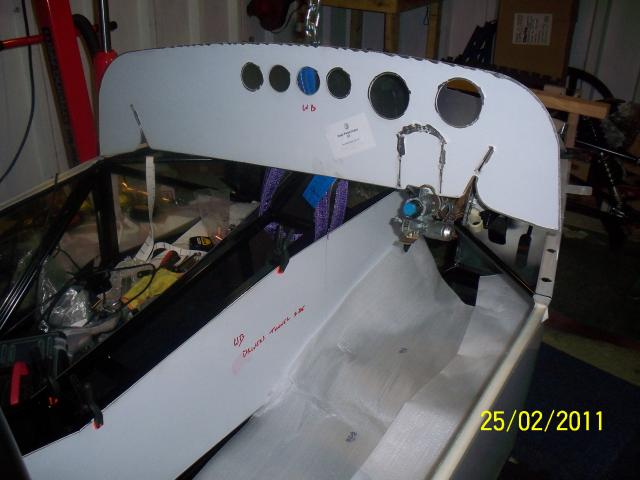
Test where the dash will fit, still not sure about whether I will be using this one though.
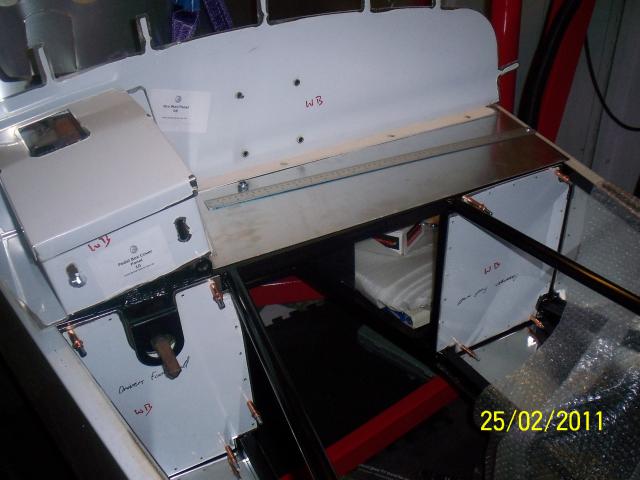
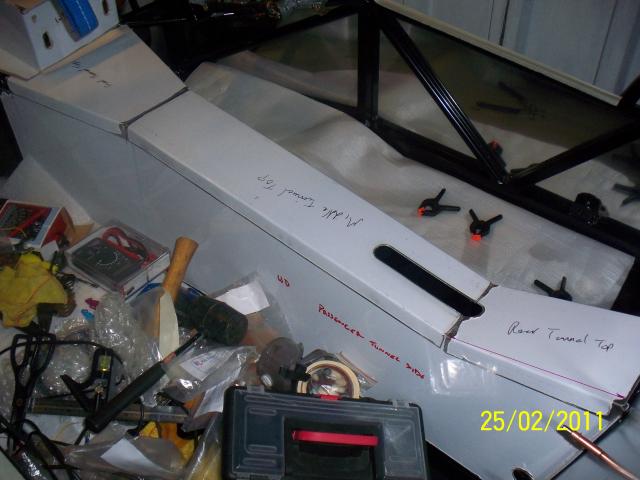
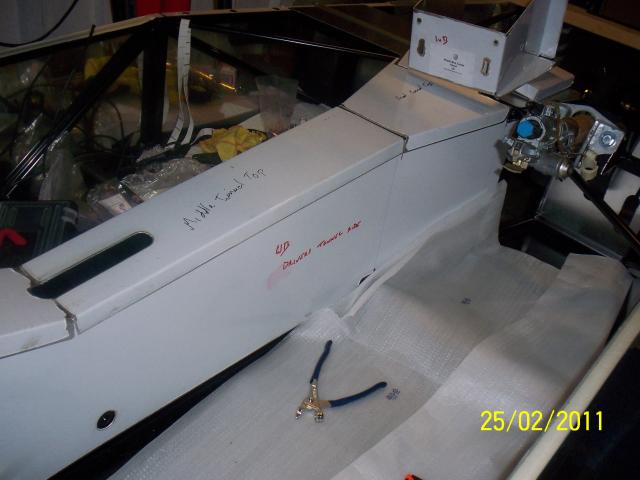
Tunnel panels now need marking up for drilling.
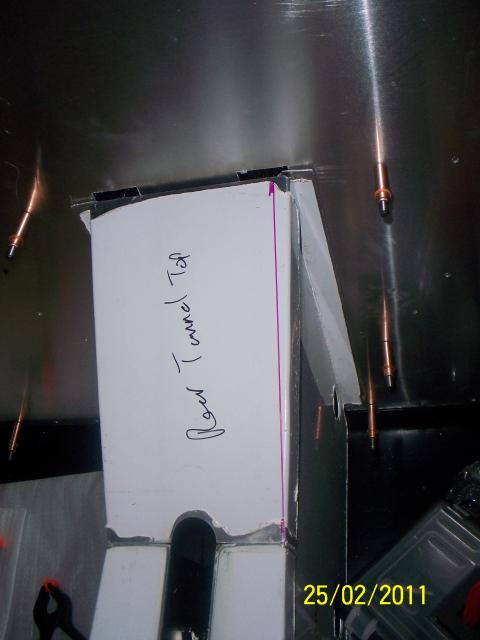
Is this rear cover too large?
All tunnel covers seem to fit without any re-work required.


Saturday 26-2-11
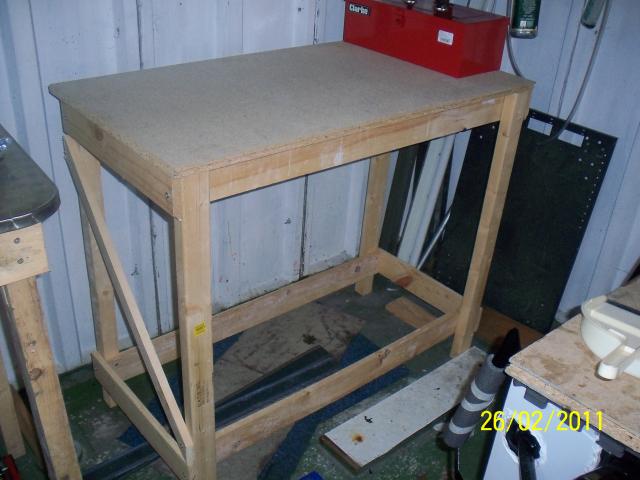
Built yet another workbench as last one too small !
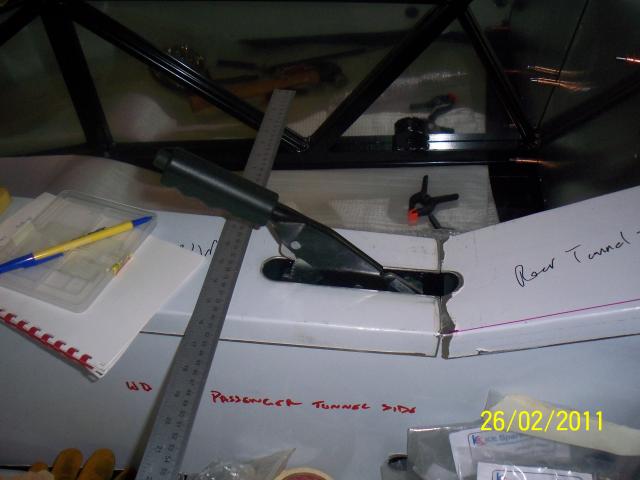
Handbrake test fit
with cables
Workbench is
proving useful.


Current work this Month includes all the following:
I have decided that a Logbook type booklet should be created to write down all this stuff.
The initial diary I created slowly develops over the period of the build
and I finally get to write this up over the Christmas break.
Not sure when the following was done during the month, so I just list
them here.
Front suspension bushes and inner tubes in.
Gearbox rubber mount modified and fitted.
Rear suspension bushes and tubes, both rear upper now fitted.
Differential off for reconditioning / cleaning.
Drive shafts blasted / painted and new CV boots on.
Seat back panel / both foot well panels drilled ready to fit.
Pedal box pedals bushes in.
Notes:
Need IVA kit and Torque settings (Are there any? - Turns out to be NO,
Everything is threadlocked and FT ! (Fully Tight!)).
Noticed that the lower front bolt for the wishbones is too long - replace.
Note that the upper wishbone and hub carriers are HANDED.
Lower rear wishbone out of alignment, needs replacing as I cannot get the
long bolt through it. Seems like the welding had distorted that one.

Upper front wishbones will need to take back for tapping out as I do
not have a tap of that size. Pedal box cover - wrong size? (Yes).
Battery tray seems ok.
Rear tunnel top oversize at rear? - replace possibly?.
Lower rear wishbone - definitely replace. Question on fitting differential and half shafts - size, spacers?
Spacers for diff bolts.
Need dipstick for engine as one is not supplied by default. Question on inlet manifold (which parts to re-use?).
Steering column switchgear missing.
Handbrake test fit, needs 4 washers for switch to work correctly. Tunnel top needs modification for
clearance of H/B lever.
Side stainless steel grab rail too long - how to fit? Brake pipes - how to fit - need photos.
Need master cylinder.
Waiting for Diff / gearbox.
Missing parts list:
2 front foot well tunnel pieces. Steering rack fixtures and bushes / rubbers.
Nose cone. Seats - need fitting rail(s). Scuttle.
1 more harness (seatbelt). Weather gear. Windscreen and fittings. Front brakes all parts.
Bonnet. Plenum. Boot box (plate). Rear light clusters. VIN plate.
Need to get the following:
P clips,
Penny washers,
Master Cylinder,
ECU + loom,
battery,
exhaust manifold,
Instruments,
Fuel pumps,
fuel sender,
swirl pot,
throttle / clutch cables,
IVA kit,
Indicator boot covers,
CAT,
shortened sump,
LOTS OF RIVETS !
Friday 26-2-11
Didn't have much to do today on car so test fit of handbrake and cables and made another workbench.
Solid it seems too.
Also cleared floor of garage and cleaned out all sawdust etc.
Sunday 27-2-11
Didn't even open the garage today !
Monday 28-2-11
Lifted engine onto a wheeled trolley so that it can be moved around
more easily and finally cleaned / tidied up.
|